Feeds:
Posts
Comments

Posts Tagged ‘Ana Maria Horner’

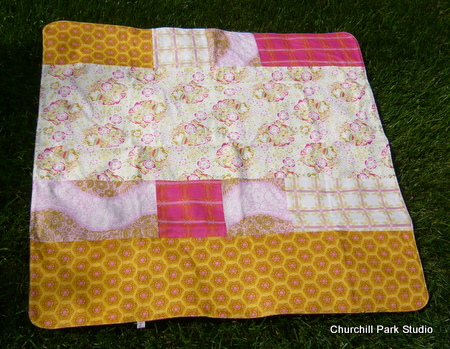
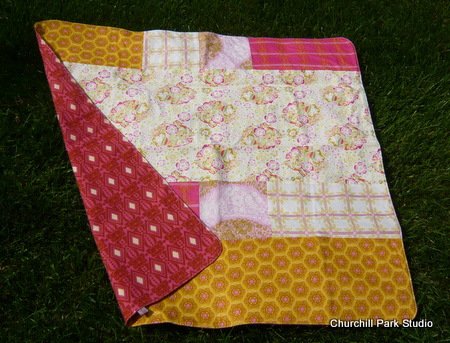
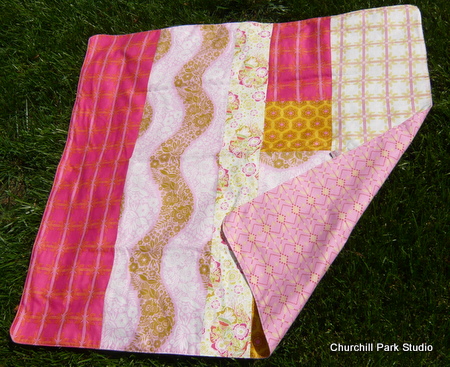
My dil was supposed to have her baby shower today, but it had to be cancelled.  I was so sad for her, she was going to travel home to NC from GA to see all of her high school and college friends and celebrate her first baby.  I sent her a package with a few of the gifts I had planned for the shower.  It is supposed to arrive today.  One of the gifts is a receiving blanket I made using the Anna Maria Horner voile.  Everyone always talks about how buttery soft this fabric is-and they are right.  It feels like silk.  I understand now why there were so many scarves made with it.  Well, I wanted to make something that the baby would use right away with this wonderful fabric.  I chose to make a couple of receiving blankets with the voile on one side and AMH Folksy Flannel on the other.  I didn’t want to make the blanket too complicated, so I used large pieces from several of the prints.  I made them approximately 36 ” by 36″ and rounded the corners.  I finished them with a top stitch around the edge and did not do anything to the center (such as any type of quilting).

Here they are:

I also sent along this dining chair cover made with some Sandi Henderson Ginger Blossom from this post.  Along with some burpies from this post and a couple of store bought items.  I hope this will perk up the new mom to be and hopefully she will look forward to the shower she will be having in GA in mid-May. 

Thanks for visiting,

Read Full Post »

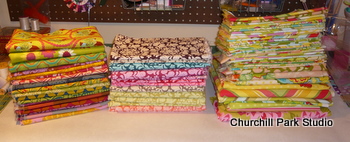
I have been purchasing lots of fabric by Heather Bailey, Anna Maria Horner and Sandi Henderson.  Farmer’s Market, Bijoux and Pop Garden are great prints for making dresses and since the price of cotton is rising, I wanted to take advantage of yardage that was still under $10 per yard.  Here is most of my current stash.

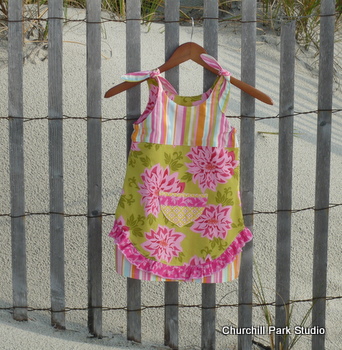
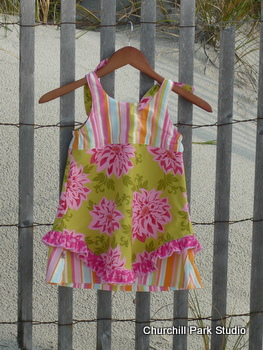
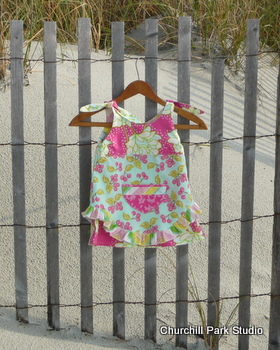
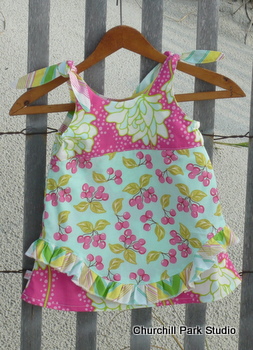
Since my daughter is not a big fan of candy for the Easter baskets, I have tried to make other things to put  into the girl’s  baskets.  This year I wanted to make some more dresses for them.  I was able to cut out 6 dresses in sizes 2T and 4T.  I have several patterns that I have not tried yet, such as the Anna Wrap dress from Farbenmix, a Macy Giggles dress pattern from Izzy and Ivy, and the pattern you see completed in this post, Isabel from Modkid Botique.  I put together some fabrics that I thought were very summery and fun. This pattern had very clear instructions and was easy to assemble.  I appreciated the way the instructions gave options for finishing the dress, depending on your type of machine(s).  Because I am spending part of my Easter vacation down at the beach, I was able to take some pictures by the dunes. 


Thanks for visiting,

Read Full Post »

I have joined several swaps on Flickr and one that is particularly rewarding is the pillow talk swap.  In round 3 I was sent an angel pillow by KarrieLyne and my daughter really loved it.  So, here is the story of an Angel Pillow that blossomed into 3 different pillows for Christmas.

angel pillow from KarrieLyne

When my daughter stopped by one day, she saw my angel pillow and  threatened to snitch it from my home.  This gave me the idea to make pillows for the 3 grown girls in my life.  I started assembling them way back in the summer while on vacation at the lake.  I talked about my set-up in this post

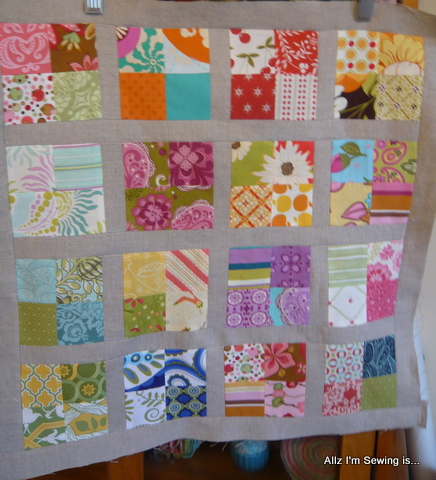
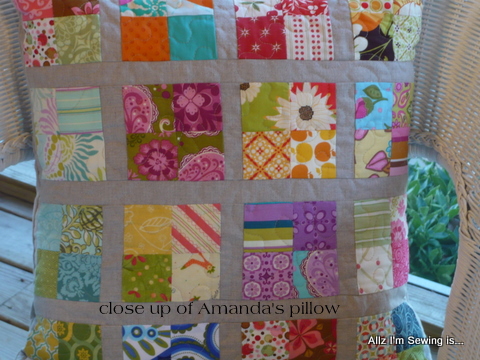
I was making pillows for 3 very different girls.  For my daughter Amanda, I used scraps from all the dresses and quilts I have made for my granddaughters.  I kept the lines in the same 4 patch.  Many of these are from the dresses I have shown on this blog.  Here is the completed top, sorry, but for some reason this picture is a little blurry.

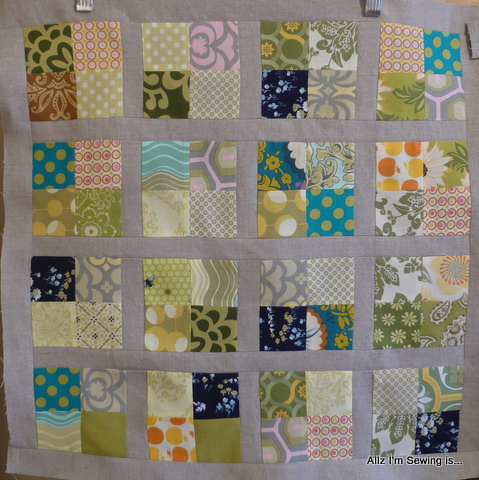
For my daughter-in-law Kimberly, I  went out and purchased some additional Amy Butler (she is a big Amy Butler fan) to add to my scraps so that I could incorporate the design wall we made for her home.   I wanted to make the pillow coordinate but didn’t want it to be too matchy matchy in the event they move to another Base and therefore, a different house.   Her living space has lots of greens and Khaki.  Here is her pillow front.

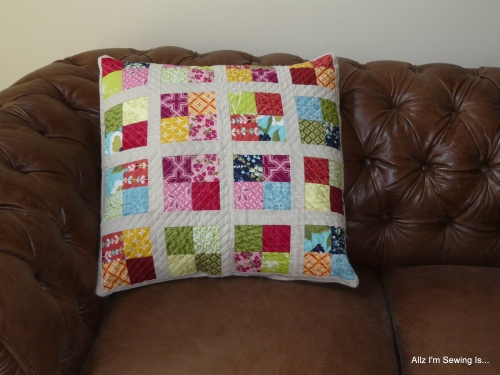
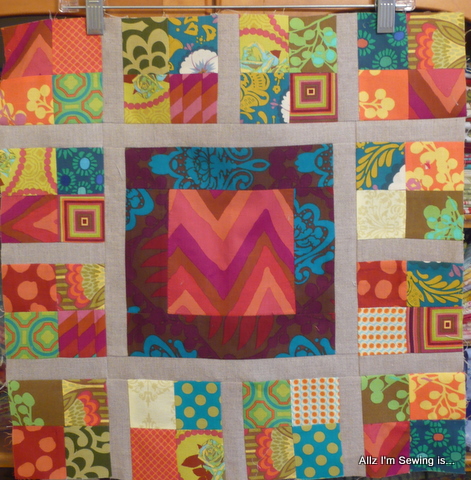
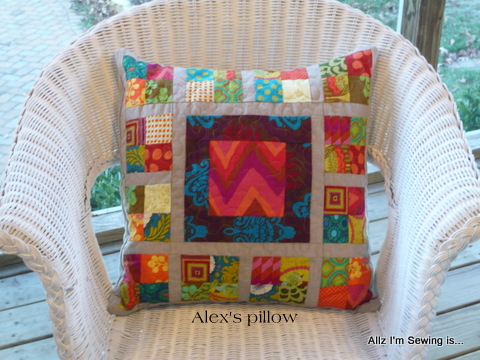
For my son’s girlfriend Alexandra, I busted out the Anna Maria Horner scraps from her quilt which I blogged about in this post.  The center of the pillow is actually a left-over block from the quilt and the rest of the squares are from scraps.  I did mix in a couple of patches that are from Amy Butler, but most are from the original quilt.  I like the patch in the middle as an alternative.  I think one of each style on the same couch/sofa would look great.  Here is Alex’s top minus the border.

Here they are:  quilted  and ready for wrapping.

Here they are all together.  I quilted 2 of them using stippling and Kim’s with a grid pattern.  I used a simple envelope closure and some more 100% linen for the backs, with the exception of Kim’s.  I used a scrap of Amy Butler to liven up the back. 

Here they are with their respective owners just after unwrapping them.  The girls seemed very happy with them and my daughter starting  hinting for a second.  Why is it that the daughters are always the most bold???

Update:  My daughter-in-law just sent me this photo from her iphone…and the caption is word for word, hehehe.  Sometimes those men just don’t get it ; )

He is touching the untouchable pillow ! ! Ahhhhhhhhhh ! ! ! ! ! ! !


Thanks for visiting,

Read Full Post »

Tutorial Part 3

The Ruffle Version


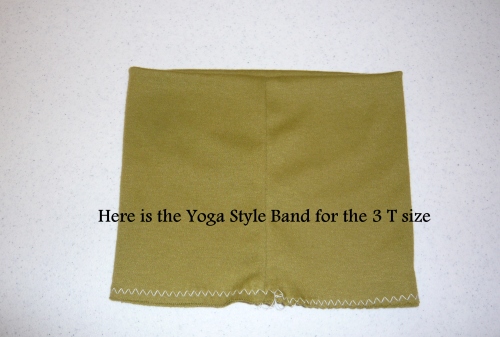
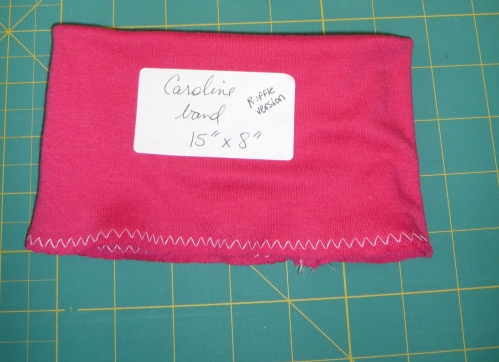
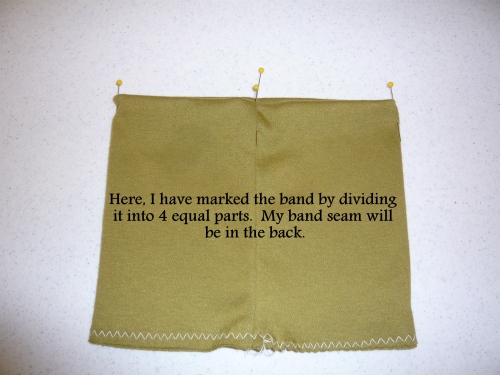
You will find the instructions for the yoga style waistband in the first Yoga Style Skirt post.  We continue the tutorial with a completed band  -this means that your band has been cut, stitched lengthwise, folded over to resemble a turtleneck and stitched (and stretched) around the bottom raw edges.  It should look like this.


*Please note that all seams in this tutorial are 1/2 inch just as in part 1 and part 2 tutorials.

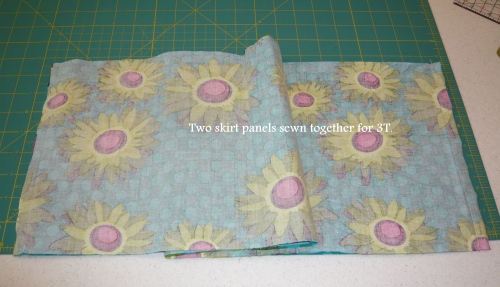
Next, you will proceed to sew your skirt panels together.  The 12 month size will have only one seam, as it goes the width of the fabric.  The size 3T will have 2 seams as it consists of 2 panels 31 inches wide. If you want a professional look, serge or zig zag your seams after sewing them together.  Her is the photo from the first tutorial.

The ruffle:

The first step for the ruffle is to attach all strips together into one long strip.  Then connect the strips into one large circle.  Finish your small seams with a serger or zig zag stitch. 

Now finish the bottom edge.  I used my serger and made a rolled edge.  If you do not own a serger, you can get the same results with a rolled hem presser foot or by pressing 1/8 to 1/4 of an inch and then repeating that step to have a double folded hem.  Then sew the narrow hem in place. 

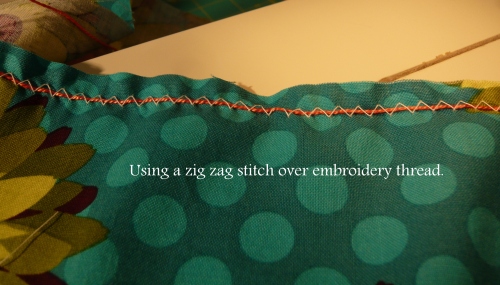
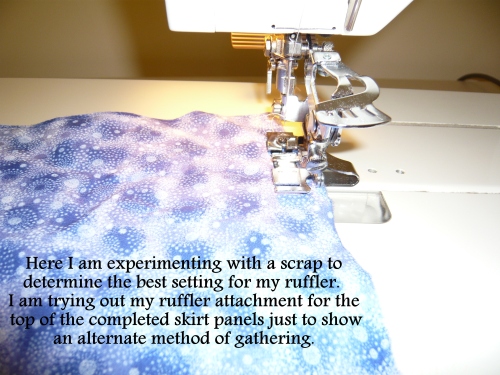
After finishing the bottom edge,we will now gather the top of the ruffle using a piece of embroidery thread and a wide stitch zig zag over it.  This will look exactly like the skirt panel top in the first tutorial.  See photo.

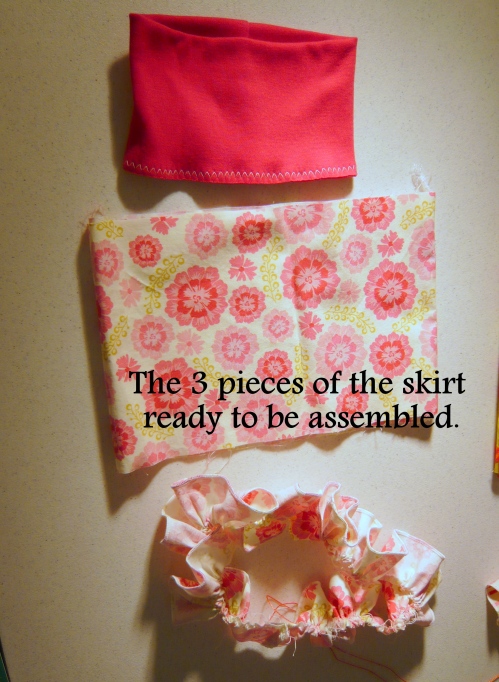
Here are the three pieces for each skirt.


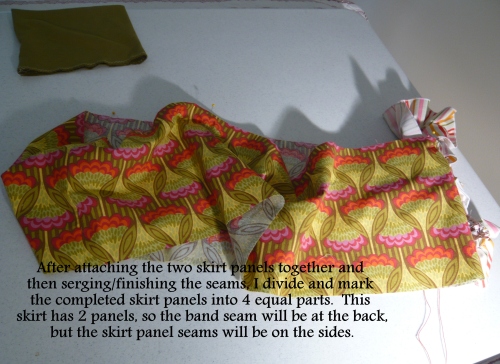
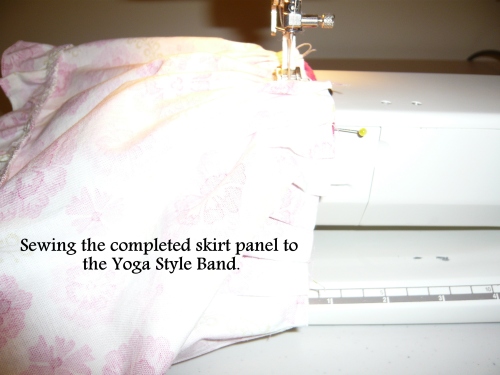
Here I match up the 4 equal parts of the Yoga Style Band with the 4 equal parts of the skirt panels (as shown in parts 1 & 2)


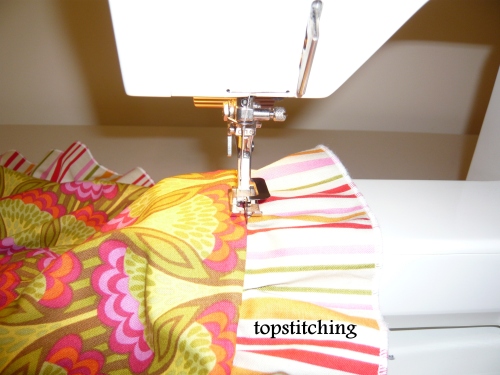
I will also serge a finished edge onto the bottom ruffle for a finished look.


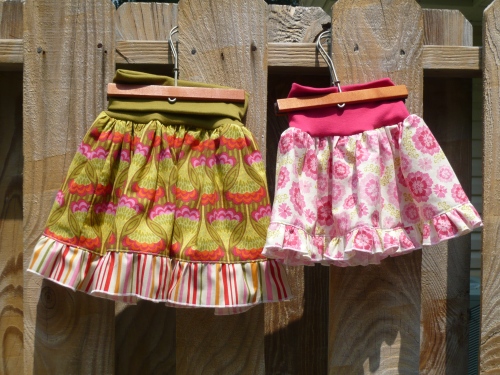
  It was a rainy day when I completed these and that  caused some of the pictures to be a little dark.  Perhaps with both skirts in this tutorial you will be able to see everything clearly.  I should also point out that the ruffle on this 3T skirt is not as full as the 12 month.  The 12 month is also a shorter ruffle.  I was just experimenting to see which I would prefer.  This ruffle in the 3T is not full enough for me ( 1.5 x the width of the skirt width) I wanted to try a less full ruffle because the skirt itself is very full and looks like a bell when worn by a toddler.  The 12 month is 2x the width of the completed skirt panel and I think it looks much better. 

Here are some additional pictures of the 12 month size.


After attaching the band to the skirt, I serge the seam and the ruffle seam for a finished look.

Hopefully you have enough information to make any version you’d like.  I can’t wait to get home and see how the ruffle version looks on the girls.
Thanks for visiting,

Read Full Post »

It is time for the Blogger’s Festival.

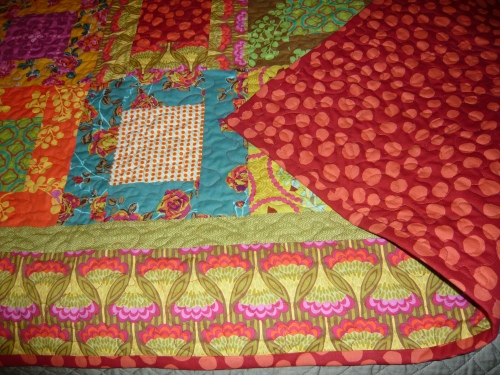
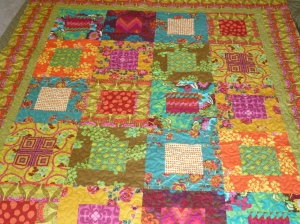
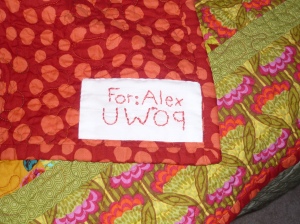
This is the quilt that I chose as a favorite to enter into the festival. I made this for my son’s girlfriend when she graduated from college.

Her mother’s side of the family is Greek and so I thought Anna Maria Horner would be a great choice since she talks about being inspired from her childhood trips to Greece. Alex’s family still maintains an apartment in Greece-so everything seemed to fit. I had never worked with so much pattern and color before, but I had a little help from a lovely lady at the “Sewing in the Carolina’s” quilt shop. She suggested putting the florals on the borders of each block and the geometric prints in the center. I brought in the stash of AMH and she helped me find the coordinating fabrics for the centers. The back is really different, but all together is really works.

This is my #1 favorite hit on my flickr photostream.
If you are interested in the process of this quilt, I posted about  it here and  here.
Thanks for visiting,

Read Full Post »

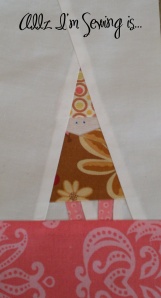
Ok, so I am now officially in love with gnomes.  If I had only known about these little fellows my block choice for the VQB might have been very different.

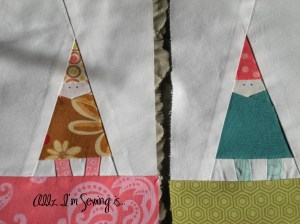
This little guy has a hat from Objects of Desire, an outfit from Anna Maria Horner, legs from Neptune and some green grass ; ) from Neptune

She, has a hat by Amy Butler, but I believe everything else is by Lila Tueller, along with pink legs and grass! 

Here is the happy couple together.  I just had to add the eyes : ) They are soooo cute!  His legs look a little wrinkly in the photo.  I am hoping my new pressing board will do a better job than the soft ironing board I have been using.  I noticed it happened on my practice block for the VQB and I used Kona Cotton in white there as well.  All my fabrics are washed ahead, so I don’t think that is why he has wrinkly legs. 

 My block for the virtual quilting bee is a paper pieced block and I was exploring additional  tutorials when I  found the most fabulous pictures on flickr.  Here is a link to the flickr account.

The pictures led me to this blog Artisania which includes tutorials  for paper piecing.   She has a basic tutorial and then a more complex one.  All have gnomes a/0 mushrooms.  And, the bonus is that my paper piecing skills are really improving.  Unlike the random, wonky types of blocks, these really come out better if you cut your pattern pieces on the wrong side of the fabric and add exact 1/4 in seams all the way around the piece.

Read Full Post »


P1010838

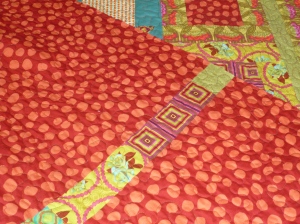
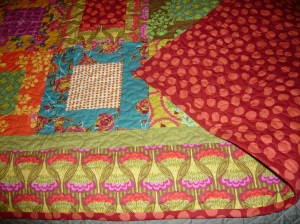
I will probably say for some time to come that this is the most exciting quilt I have made.  I chose the orange polka dot for the back and binding.  The quilt was already busy and fun, so I didn’t think I needed to add another dimension with a contrasting binding.  I also put some of the pieces onto the back (mostly greens), so that it didn’t look like a giraffe gone bad from the back.  This is before the binding.

P1010841


 I am not a big fan of hand sewing, so I would love to find another professional way of doing the bindings.  Hand sewing is just so time consuming and not my favorite thing to do. 

P1010849

I did struggle with color choice for the stippling. 


P1010836

P1010835

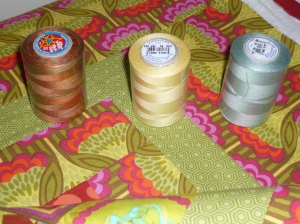
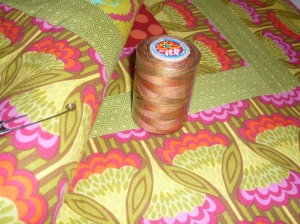
I purchased a few options and finally decided on a variegated orange with green, yellow and burgundy.  I think it was perfect.

P1010866

Read Full Post »

Alex's Quilt 045

Alex recently graduated from the University of Wisconsin and I purchased a very colorful combo of fat quarters from the Quilt Haus, in Texas.  I chose the prints because a majority of them were designed byAna Maria Horner.  This fabric designer was influenced by summers spent visiting family in Greece.  Well, Alex happens to be Greek, so…it made sense to choose these fabrics.  I wanted to make a lap quilt for her to commemorate her graduation much as I did for my Niece Jaki.
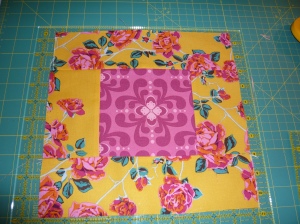
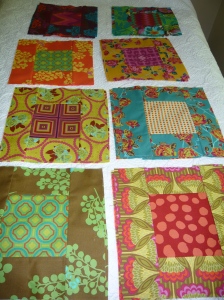
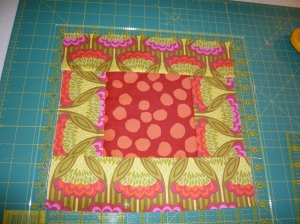
Alex's Quilt 044So I started with the pack of fat quarters and procrastinated because I couldn’t quite come up with a plan when all the colors seemed so dark.  I didn’t see a contrast, and since I am a new quilter…it left me uncertain.  I visited a local shop down at the beach called Quilting in the Carolinas and a quilter in the shop showed me her square in a square made with all dark Kaffe Fassett.  It was beautiful!  I asked her how she came up with which fabrics to put where and she replied “I just used the geometric designs for the inside square and the floral patterns for the border”.  Okay, I thought…I could do that too.  Then I realized I didn’t have enough geometric fat quarters.  Most of my pile were floral prints.  So she helped me combine my fat quarters with some yardage from the store.
Alex's Quilt 040

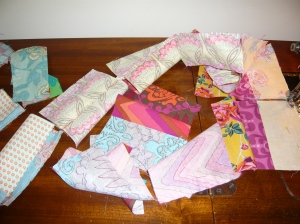
Here I am chain piecing the side borders for all 20 squares.
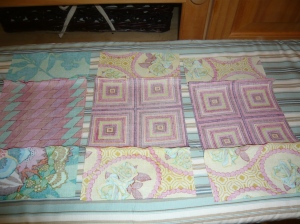
Alex's Quilt 042

Here I am pressing the seams before I start with the top and bottom borders.  Time to make the squares.
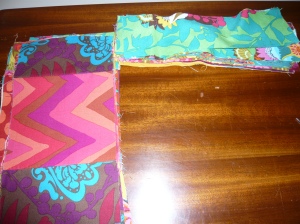
Alex's Quilt 043


Alex's Quilt 054


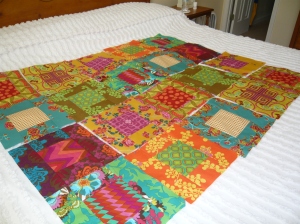
It is starting to really look like something!  Next you will see my overall plan for the top.
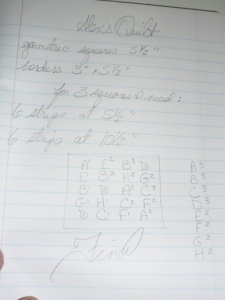
Alex's Quilt 056


  The only problem is that the overall look depends on which color border you choose for blocks A,B,C and D.  But I proceeded with my plan and decided I would make adjustments as needed.
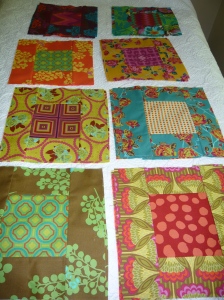
Alex's Quilt 054

Even with all my planning, I ended up with too many similar colors next to one another, so I swapped out some blocks, but keeping the overall plan intact.  Here are a few pictures of the planning stage.  The picture below tempted me to use white borders and sashings for the quilt.  I think the white separating each block really makes them pop!  Well, maybe next time I use so many colorful blocks I will try that.
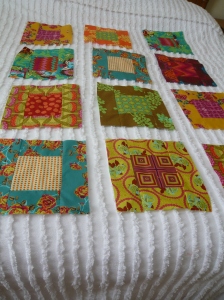
Alex's Quilt 061

 Each first block of each row is labeled so I can be sure I am sewing the rows in the correct order. 
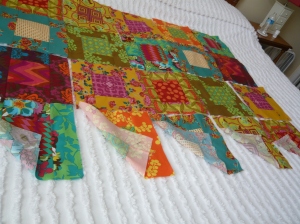
Alex's Quilt 060Alex's Quilt 058

I think I am pretty happy now with the color arrangements.
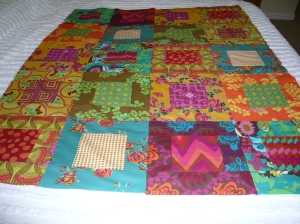
Alex's Quilt 062

Ok, so now I need a color plan for the borders and backing.  I returned to the Quilting in the Carolinas shop because I know that they have a section of Kaffe Fassett and a few other bold prints.  With the help of the same quilter (I really must ask her name next time I am there), we began to audition fabric choices for the border.  She suggested a thin border to give the quilt a little rest. 

This particular square has my favorite fabric and color combos, so we decided on using them as a jumping point. 

Alex's Quilt 045

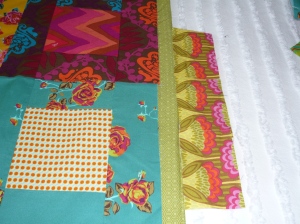
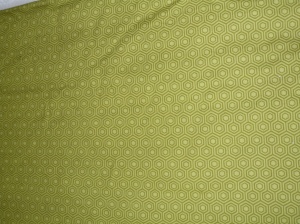
I really love the Neptune line and once we agreed that green would be a calming choice, I headed to the Neptune.  I chose the more geometric to compliment the inside squares which are also geometric.  This will be my 1 inch border.  I will have to cross my fingers and see if I can obtain more yardage of the floral from an online store.
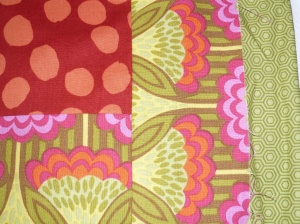
Alex's Quilt 012

Alex's Quilt 007

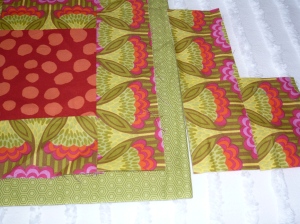
This is how I am hoping the outside border will look.  I used some scraps to get a visual.
Alex's Quilt 008

Alex's Quilt 009

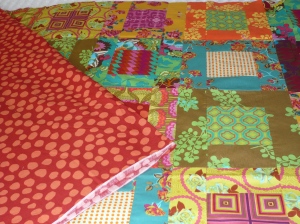
You may need to put your seat belts on for this one…but I chose the poka-dot from the center square of my fav block for the backing.  I haven’t thought about the binding yet…should probably make sure I can get the border first.   I sure hope Alex is up for some color and excitement : ).
Alex's Quilt 013

Read Full Post »